Creating ad schedules
Once you created one or more ad tags, you need to include them in an ad schedule. Ad schedules are a special feature of the Flowplayer platform and allow to add multiple timed ads to a player configuration, which will then apply to all video clips shown with this player. You can create as many ad schedules as you wish (and as many player configurations as you wish as well of course). This makes configuring different advertising setups easy and flexible, without the need to write code. Should you wish to define ads using programming you should review our advanced advertising.
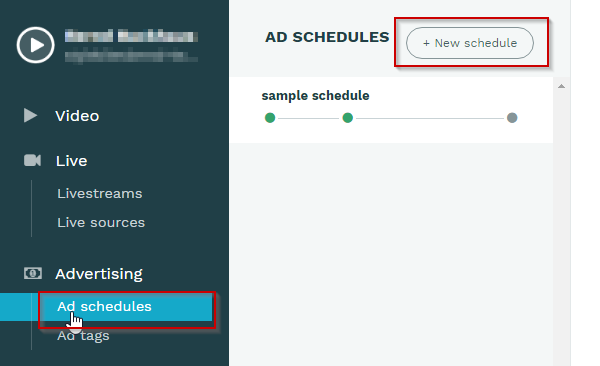
To create an ad schedule, go to Advertising / ad schedule in your account, and select + New schedule
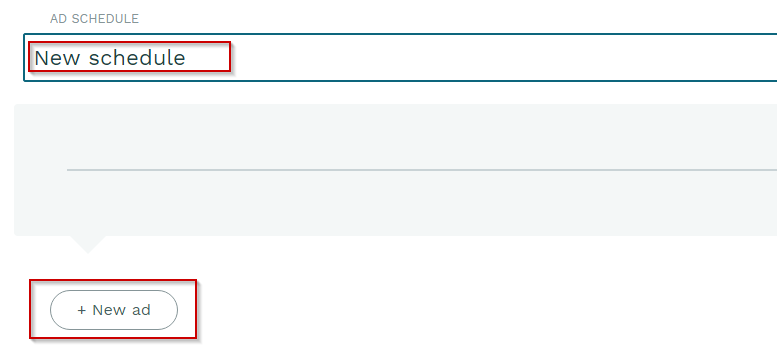
In the add dialog, assign a descriptive name to the schedule, e.g. "standard preroll" , "skippable preroll + overlay midroll" or "pre, mid and post roll" would be fitting depending on the nature of your schedule. Then, click + New ad to define the ad tags you want to use in the schedule.
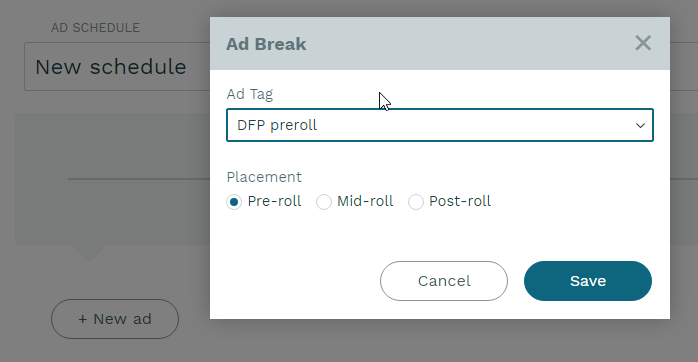
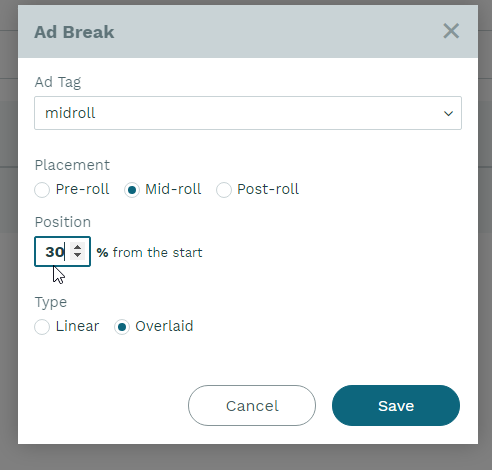
From the presented dropdown, select the ad tag you intend to use, define the placement position and save the ad break.
If you choose the midroll position, you can additionally define the relative time at which the ad will be displayed. This will typically be a text/image overlay tag if it is a non-linear ad and a mid-roll if it is a linear ad.
Of course you can - especially for longer feature videos - add multiple mid-rolls, for example at 20%, 40%, 60% and 80% .
In case you made a mistake, you don’t need to start all over again. You can either remove an unwanted tag from the schedule, or in the case of mid-rolls edit the timing and ad type online by expanding the tag info.

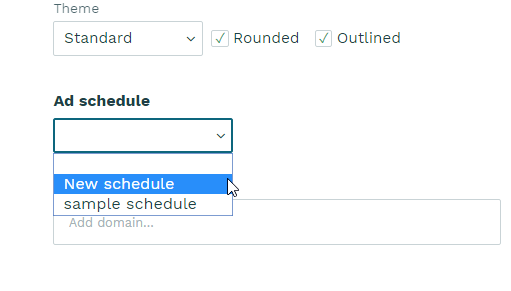
The new ad schedule will appear in your list of ad schedules, and you can then attach the schedule to a player and save it. This will make sure that ads are displayed anytime a video or livestream is displayed in this player.

